")


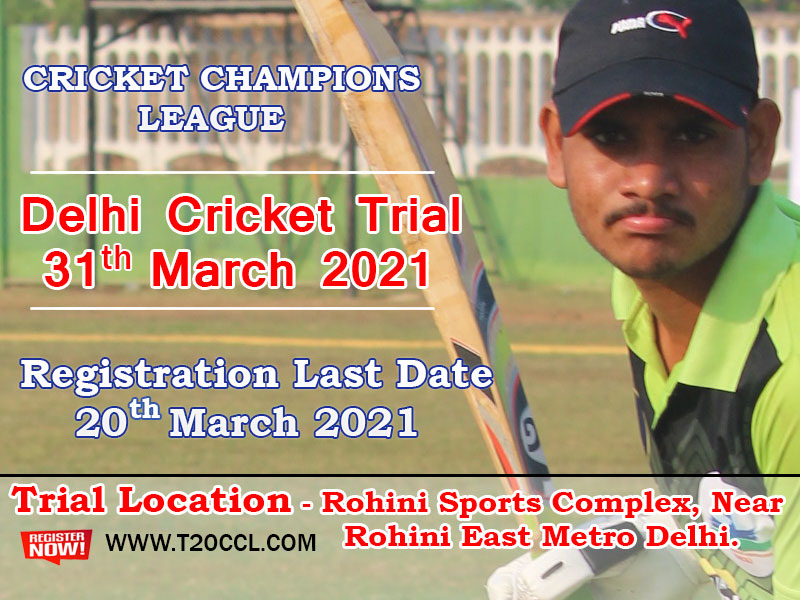


Begin by selecting established organizations where you can register for cricket trials across various age groups.
2. Complete the Online Registration Form
Visit the official website of your chosen league or academy and fill out the registration form. You’ll typically need to provide:
-
Personal Details: Provide your full name, date of birth, and contact info when you register for cricket trials.
-
Playing Role: Indicate if you are a batsman, bowler, all-rounder, or wicketkeeper while registering.
-
Preferred Trial Location: Select the city or venue for the trial during registration.
-
Age Group Category: Choose the correct age group (U14, U16, U19) when you register for cricket trials.
3. Prepare Required Documents
Ensure you have the necessary documents ready for submission:
-
Aadhaar Card
-
Digital Birth Certificate
-
High School Certificate
-
Proof of Address (if different from Aadhaar)
4. Pay the Registration Fee
Most cricket trials require a nominal registration fee. Examples include:
-
CCL: ₹1100
-
NPL: ₹1200
-
ICL: ₹1000 for batsmen
Payment is usually made online through the respective league’s website.
5. Attend the Trial
After successful registration and payment, you’ll receive details about the trial date, time, and venue. On the day of the trial:
-
Arrive Early: Ensure you reach the venue well before the scheduled time.
-
Carry Necessary Equipment: Bring your cricket gear, including bat, pads, gloves, and helmet.
-
Dress Appropriately: Wear suitable cricket attire, typically white clothing.
-
Stay Hydrated and Rested: Ensure you’re physically prepared to perform at your best.
? Additional Tips
-
Stay Updated: Regularly check the official websites and social media channels of the leagues for updates on trial dates and venues.
-
Prepare Thoroughly: Engage in consistent practice and fitness routines leading up to the trial.
-
Seek Guidance: Consider consulting with coaches or mentors to refine your skills and strategy.